


Mumbling hero saves village.
QUEST LOG #26: MEDIEVIL: RESURRECTION (PART 1)

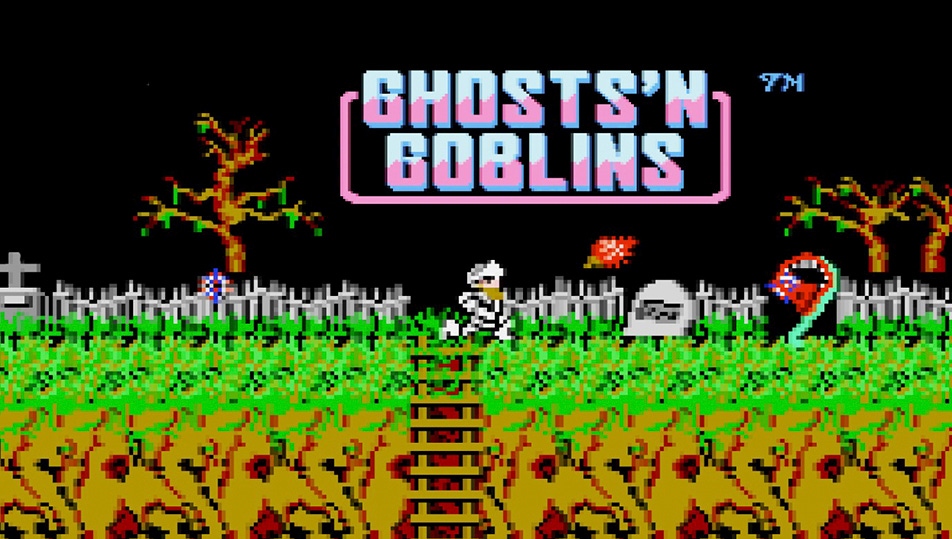
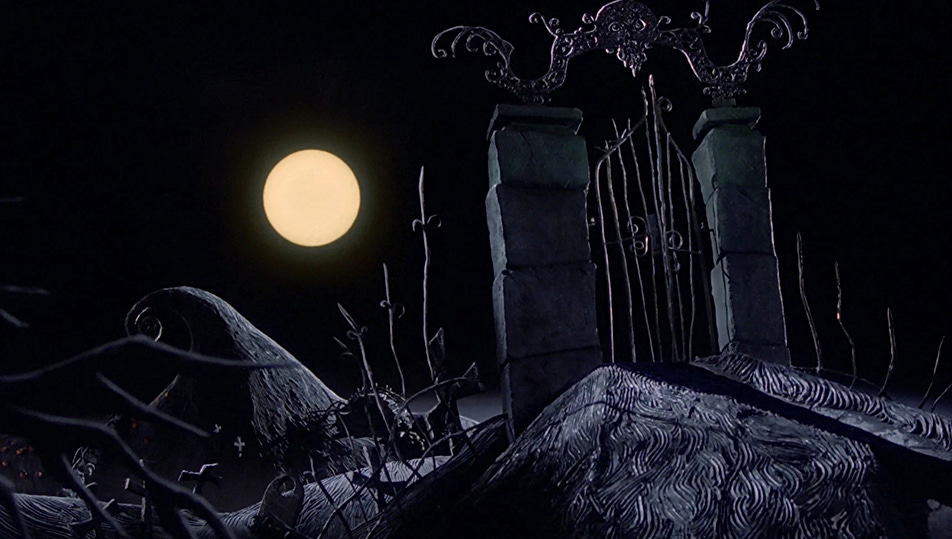
The original MediEvil, like Future Cop L.A.P.D, Tomb Raider, Crash Bandicoot, and Baldur’s Gate, was one of those games I shared with my dad. Many an afternoon was spent together, overcoming the challenges, difficulties, and frustrations that were inherent in the game. Certain sections suffered tremendously from the floaty controls, poor ability to wield weapons accurately, and the difficult and rather unforgiving level design, as well as the enemies that inhabited them. That being said, while the game suffered many troughs, it had just as many peaks, and the aforementioned downsides of this game can be more easily overlooked because of these moments of brilliance. MediEvil, despite the downsides, oozes character, although much of that is clearly derived from A Nightmare Before Christmas, and, apparently, it was also inspired by Ghosts 'n Goblins, a platformer released in 1984. As as aside, this game also got a remaster on the PS4 with a Resurrection suffix… the ties are undeniable! A recent game that I played which sees MediEvil as the muse is Pumpkin Jack, which feels like a modern take on the game in almost all aspects, the good and the bad. If you missed that one you can read a more about it by following the link.

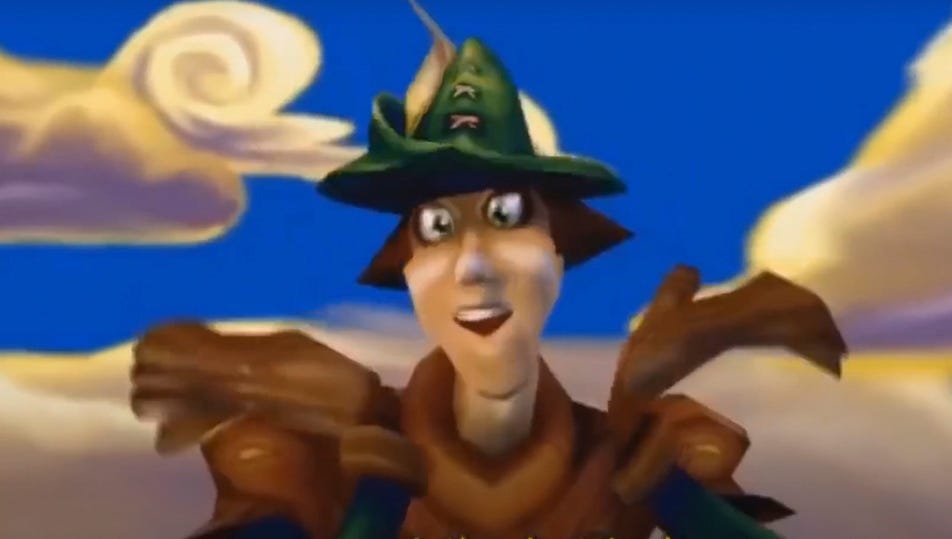
Anyway, back to MediEvil, and the character that it boasts starts with the protagonist, Sir Daniel Fortesque, who is dead, half blind, and unable to speak properly, having lost his jaw. The fact that we are able to get any character from him is rather remarkable, and it says a lot about the design, animation, writing, and in Dan’s case, series of expressive grunts, eyerolling, and some magical skull/brow movements he is able to deploy. But it’s not just Dan, the whole world and almost every creature and character that inhabits it exudes a wonderful sense of fable, but in a satirical jokey British sort of way.
For those who missed the adventure the first time around, the setting for the game is the kingdom of Gallowmere and Dan’s legend begins with his apparent charging into battle against the undead hoards of the evil sorcerer Zarok. It’s said that Daniel heroically struck down Zarok before succumbing to his moral wounds. This legend is false however, and we learn that Dan, despite being buried honorifically in a rather grand crypt, actually just got struck down with the first arrow loosed in the battle. The King, likely embarrassed by the failure of his chosen Champion, decided to cover this up – declaring Dan as the hero of Gallowmere. 100 years later, Zarok returns and reawakens his undead army, unwittingly resurrecting Dan in the process. Our hero is then given the chance to rise up and fulfil his own legend, opting to defeat Zarok for good, and taking a place among the honoured dead in the hall of heroes. Before all that though, the entire game…
My first playthrough of MediEvil was on the original PlayStation sometime in 1998, and my second run at it was in 2005, when it was released on the PSP as MediEvil Resurrection. This remaster was overall rather faithful to the original, keeping most of the levels and content intact. There are some glaringly obvious changes however, that I shall note here, which are absent from the original 1998 release. The first, are the guides within the game. These take the form of gargoyle heads in the first iteration, and have a sort of friendly well-spoken Gollum voice, and in Resurrection are more fully formed although more cartoony in appearance – still gargoyles, but it’s harder to identify them as such. Dan’s crypt is a little different in design, the ant caves are missing (no bad thing), the Asylum Grounds is completely missing, which is a shame because this level included a giant stone head that issued out riddles and puzzles, which broke up the pace of the gameplay quite nicely. The lake level is also missing, as are the crystal caves (shortened to just a boss fight in the remaster). The Gallows Gauntlet is absent too, along with a level in Zarok’s laboratory, and the strangest of levels, the Time Device, which although seemed a little out of context did include a nice variety of mad design choices, is also gone. As well as all this, the Hall of Heroes was completely overhauled in terms of appearance (changing to a variant of Heaven, rather than a Valhalla style great hall), and perhaps some of the heroes were altered slightly too – although I’m not entirely sure. Digging through the changes (I’m sure there are others), it really is quite a surprise how much content was removed from the original game when it was remade for the PlayStation Portable. I suppose what was lost doesn’t change the pace of the game in a bad way, and doesn’t affect the story at all either… I suppose if it can go, it probably should? Anyway, it wasn’t all removals with the remake, and extra content was included to make up for the losses. Much content was added in the way of minigames, and midway through the game, you come to a level called Gallowmere Plains, and here you’ll find a fete of sorts, which is run by a bunch of skeletons. Speaking of skeletons, as a precursor to visiting Dragon Island, included in Resurrection is a level called the Scurvy Docks, which has Dan dressing as a Pirate in search of a vessel. Moreover, there is a multiplayer component included too, which utilises the minigames included in the fete, which are also accessible from the main menu. There are some subtle changes to the weapons too, but overall, putting some of the levels aside, the game is pretty faithful, and looks beautiful compared to its 90s version. The inclusion of Tom Baker, who narrates the introduction, pre level screens, and voices the Grim Reaper is an excellent change, and really brings the game to life.
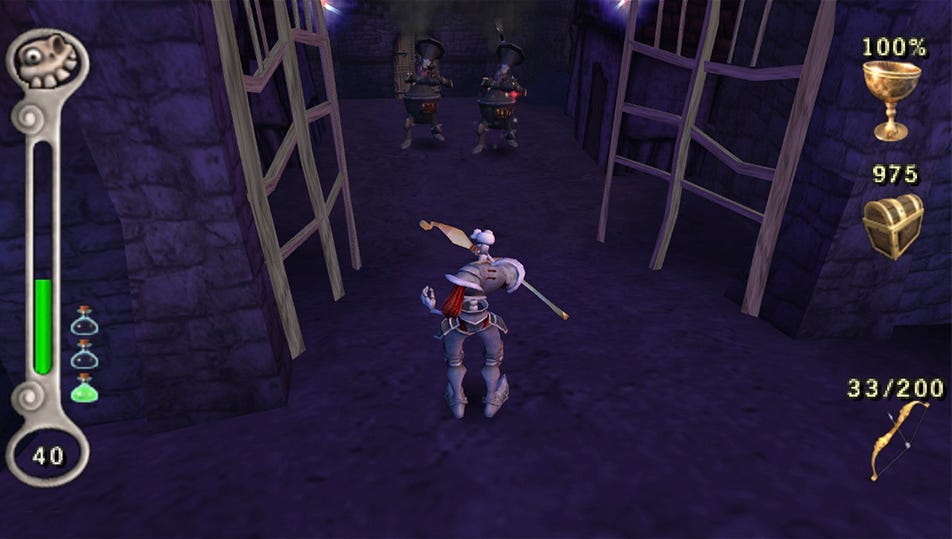
Enough with the comparisons then, and on to the gameplay. MediEvil: Resurrection opens with a retelling of the myth, played out through a PowerPoint presentation via a stained-glass window (setting appropriate), and after clicking New Game, you are treated to a remastered cinematic of Zarok enacting his evil plans, sucking souls from the living and bringing the dead back to life (while also blotting out the sun – the cad). Anyway, as mentioned, this evil-doing is what brings our hero back to life and zooming into Dan’s cranium you find that the worm (Morton the Earthworm) from the first iteration of the game has been replaced by a genie – Al Zalam. He keeps you company throughout the game and offers occasional commentary on what happens to and around Dan. Through the ensuing and rather one-sided conversation between Al and Dan, you get a good bit of detail on what’s happened and you get your first exposure to the wonderous animation of Dan’s head, it being made of marvellously malleable bone, which exceeds the expressive range of the average living actor. After this, you finally take control of Dan, appropriately, in Dan’s Crypt, which serves at the first level of the game, and a tutorial of sorts. After another brief conversation, this time with one of the reimagined gargoyles, you’ll be let loose to explore Dan’s home of the last century. The crypt, as I mentioned, serves as a tutorial area and will get you familiar with the basic controls. No real combat will occur yet though (there are target dummies), just some book reading, rune using, and money collecting. You’ll also find some throwing daggers and a sword, meaning that you won’t have to rely on Dan’s detachable arm for future encounters… There is also a shield too, so grab that along with the aforementioned Star Rune. Drop that in the door hand, and head on up the steps to begin the game proper. In the original, as you exited the crypt, you had, if you were quick, the opportunity to bonk Dan’s head on the door frame as you exited, and this little detail gave me much joy (I was a simple child). Nothing else that has been changed in Resurrection disappointed me except for the omission of this little sound effect… Let’s blame Zarrok.

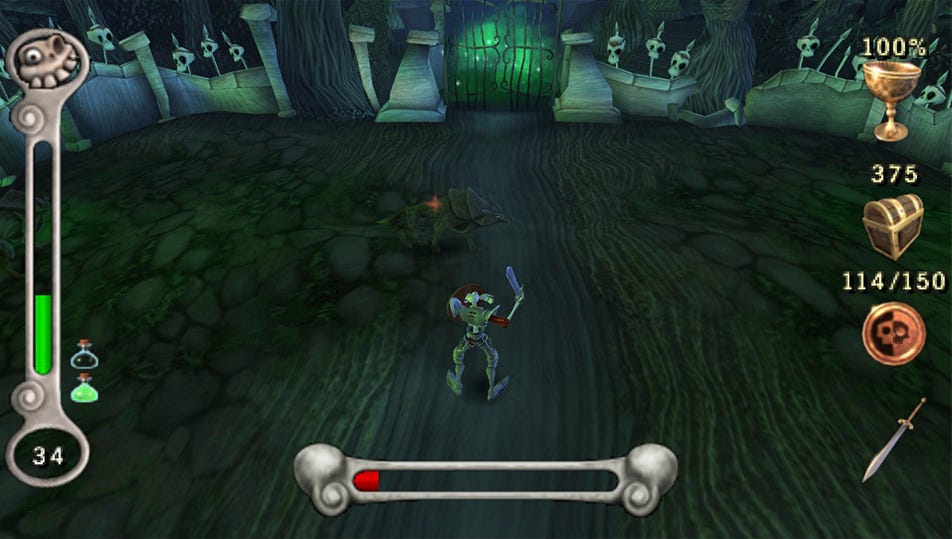
After leaving the crypt behind, you transition to the map of Gallowmere. From here you can pick which level you want to tackle. The game, for the most part is pretty linear, and you only really need to revisit a couple of levels, although all remain open to you once they have been completed. Unlike the original iteration, you won’t be playing through the wrong level to discover you’re missing something, and you’ll only retread old ground once you have the required item, or to acquire a full chalice if you failed to get it the first time. I suppose an explanation of chalices wouldn’t go amiss here – these collect the souls of the dead that you defeat during your adventures and unlock passage to the Hall of Heroes at the end of each level. Acquiring one of these grants you an audience with one of the resident heroes, and there they will bless you with aid in your fight against Zarok, offering you a new weapon or health potion upgrade. These can give you an incredible advantage in combat, so it’s always worth trying to fill the chalice each time (although it isn’t strictly necessary).
Once free from Dan’s musty dwelling, you emerge in the graveyard, and here you get your first taste of combat. Shambling zombies for the most part, and easy pickings. There is some variety to them, indicated by the colour of their ragged garments, and fatness, but most are dealt with easily. You’ll find that the first pathway you get to will be locked, so back through the graveyard to search for an alternative pathway. Eventually you reach the end of the level by finding a door behind which is more of Zarok’s sparkly green magical gas. If you collected the chalice you’ll be sent to the Hall of Heroes for the first time after this, and you’ll meet your first hero, Canny Tim, the foppish Robin Hood rip-off. He’ll give you a crossbow – your first proper ranged weapon!

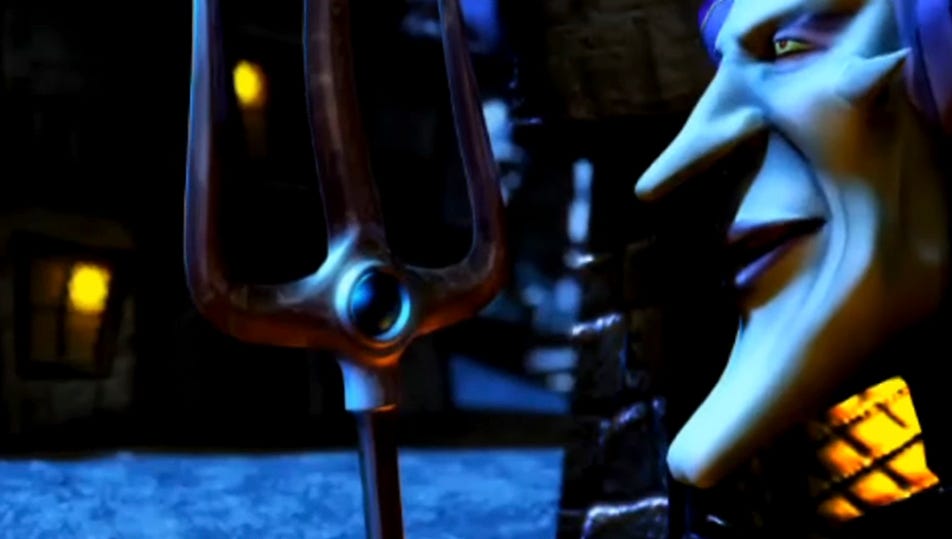
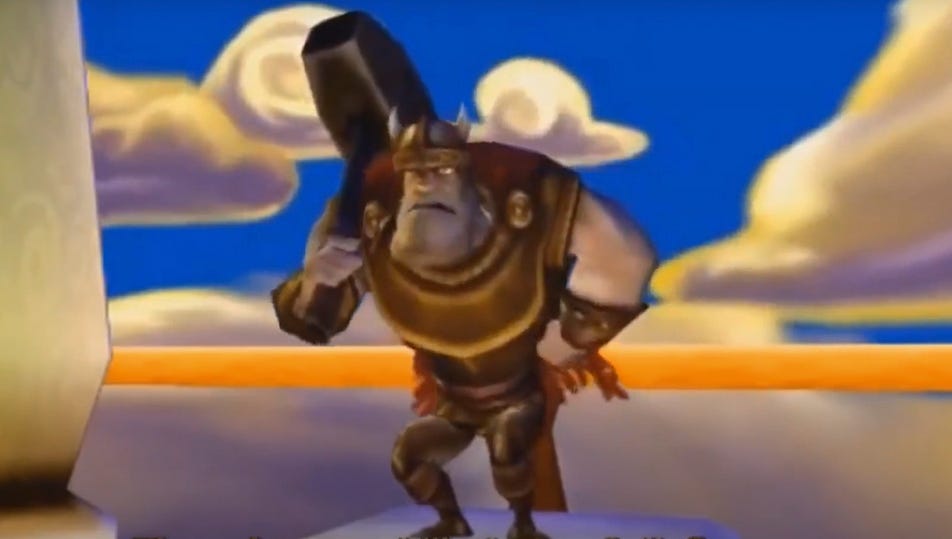
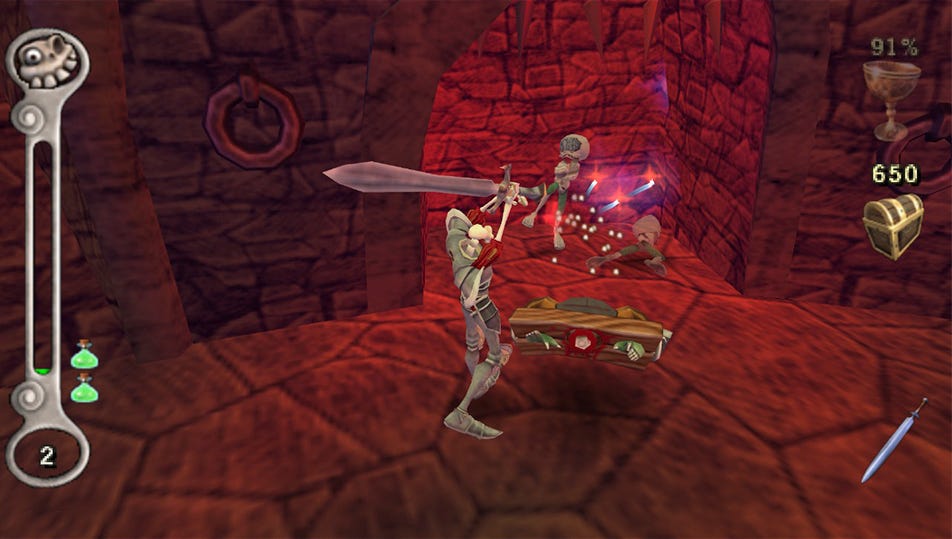
Onward through Cemetery Hill after that and we catch up to Zarok, and he’s displeased to see you, to say the least. He’s up on said hill and unleashes a load of boulders down to stop you perusing him. That’s not an immediate concern though – there’s plenty of your undead brethren to put down first. This level is pretty much the same as the previous, but with a little more challenge, it also introduces you to the club, and its ability to destroy boulders (Zarok must be so annoyed at the timing of that acquisition) and cracked walls. As well as this, it can also be used to transport fire around which is useful for many of the game’s puzzles – overall a very versatile weapon. It does suffer damage though, so don’t waste it! After dealing with a few puzzle bits, digging some graves, and chopping up more undead, you finally come to THE Cemetery Hill. The boulders might seem scary, but the timings are quite generous in order to avoid them, and you can always smash them to bits with the club if you come face to face with one – unless it’s the metal plated ones, those you’ll have no luck with. After making the ascent, the Hilltop Mausoleum is before you. Heal up, save the game, and venture forth, to the Hall of Heroes you go, and you get to meet Stanyer Iron Hewer – he’ll generously give you the War Hammer, which is a more powerful version of the club – although you can’t set it alight. It doesn’t suffer damage though, so bash away to your hearts content!
Before venturing forth, now that you’re equipped with the Warhammer, you can revisit Dan’s Crypt and smash that wall down. There you’ll find a shambling mummy, and a diggable grave. In there will be the chalice, and another chance to visit the Hall of Heroes. This time you’ll have an audience with Woden the Mighty, and he’ll give you the Long Sword – it’s better than the short one…
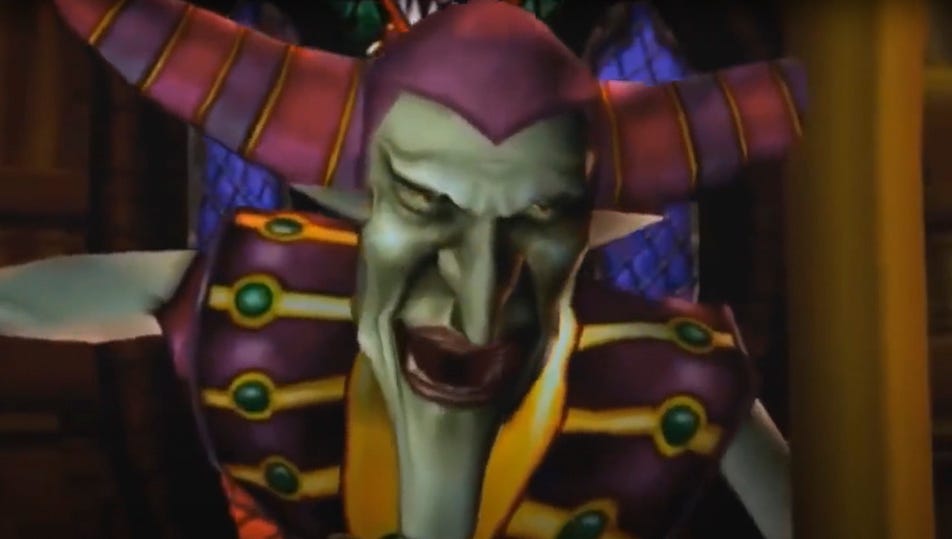
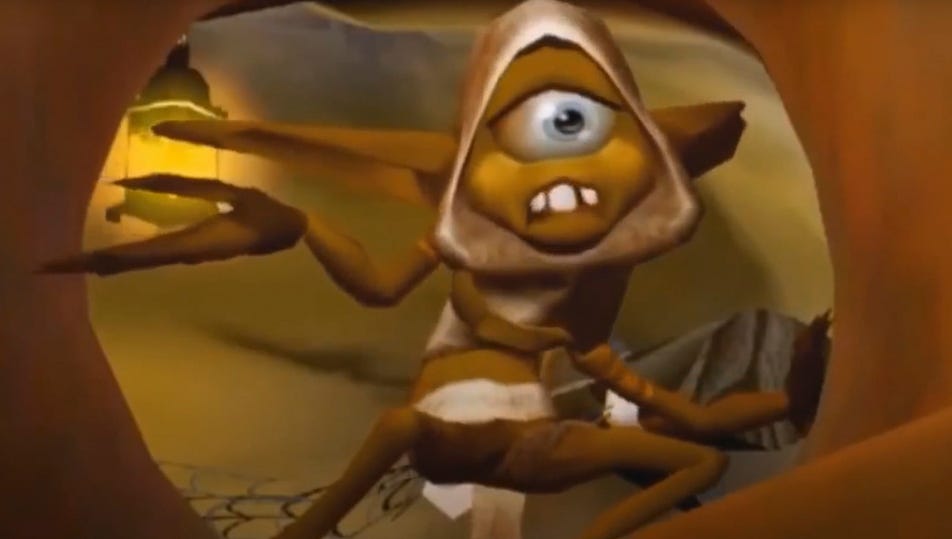
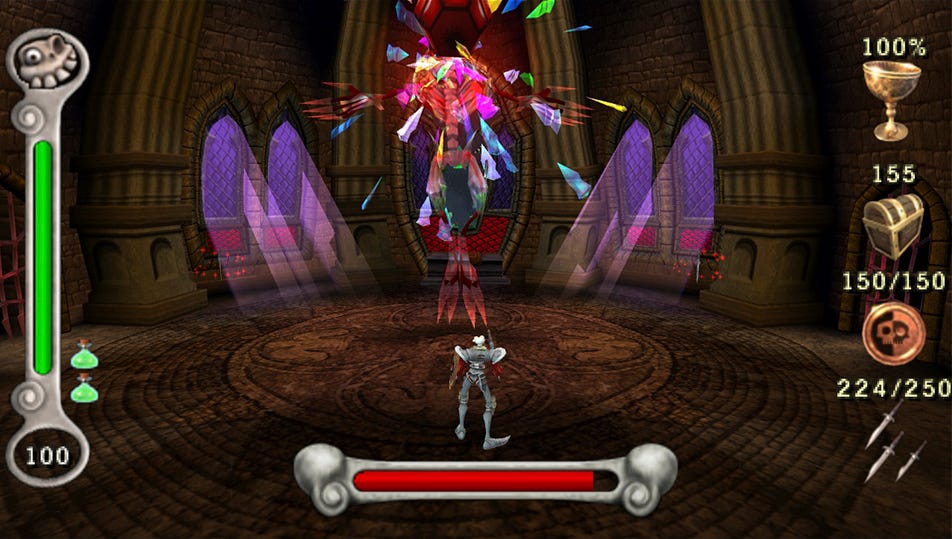
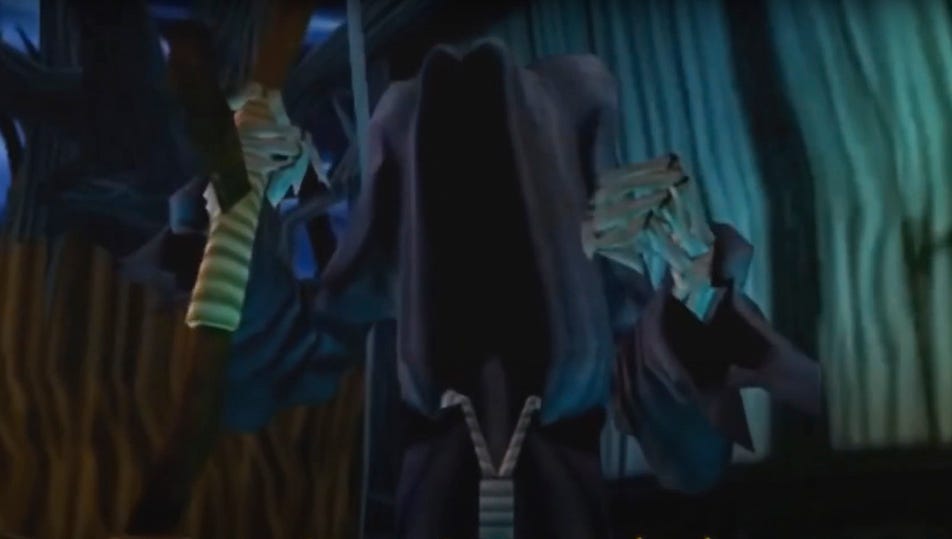
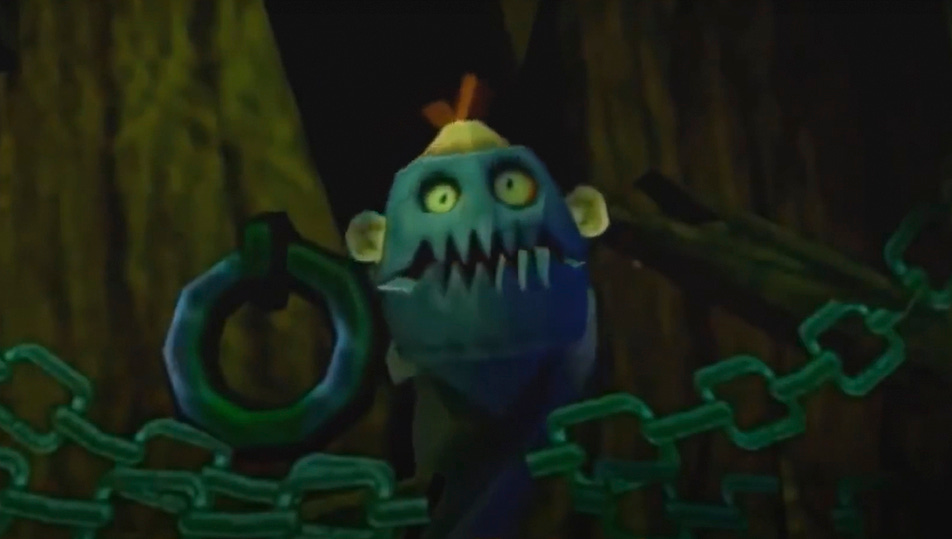
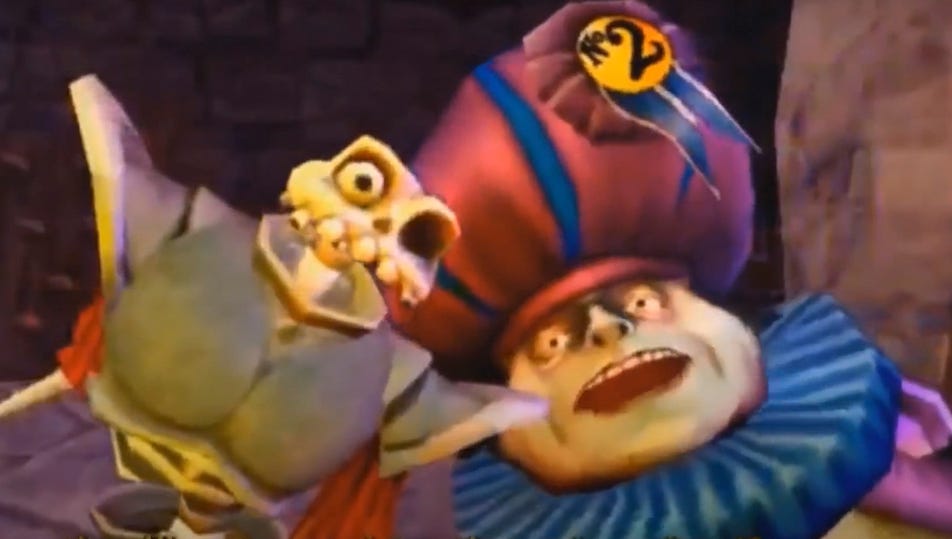
Returning to the map, and after entering the Mausoleum, you’re treated to another cutscene of Zarok taunting you. He’s a very charismatic and ridiculous – a perfect pantomime of evil. It’s always a pleasure, especially the evil laughs. After he stops jabbering, you regain control of Dan and are free to explore. Here you must watch out for the imps, they will pinch your lovely weapons! Damn them to hell! If they do get you, you can repurchase what was stolen from you by visiting a vendor gargoyle, but it’s best to avoid that, unless you’ve got gold to spare. After exploring the main room, you’ll find that the gates are closed, so using your newly acquired hammer, smash the grave sites and jump down to the lower levels. Lots more imp killing follows as you explore the catacombs beneath, and there are some challenges to deal with - booby traps, and there is a bit of block pushing to ignite the heart of the Stained-glass Demon… ohh creepy! You also have to acquire some sheet music for the organ playing ghost at some point too, because why not? This will yield you a rune and the chalice, so just do it. After that, return to the main chamber for your first boss fight! The Stained-glass demon will leap out of its glassy binding and after a moment, the chaos of battle begins. The music used for the encounter adds untold tension to the fight, and I suppose I should mention the soundtrack - it’s a banger. The music, written by Andrew Barnabas and Paul Arnold is incredibly apt for the design and theme of the game, evoking the creepiness of a kingdom cursed with the rising dead, and the witless hero battling against all odds. There are some changes to the OST, with additions for the new levels, and those that have been added are so perfectly shaped to fit with the original, that you’d struggle to pick them out without prior knowledge. As with the variety of levels in the original, the first iteration of the game has a little more in it, but the selection is more refined here, and perfect for what Resurrection offers in terms of content. Back to the fight, and after destroying the demon’s heart, you’ll acquire the key to that gate in the previous level you couldn’t open, and, if you collected the chalice, you’re heading straight for the Hall of Heroes again. This time you’ll chat (or perhaps be chatted up by) Imanzi Shongama. She’ll give you her spear, as well as an eye (you only have one, after all) full of her… assets. The sexual innuendos come thick and fast with this one, and it seems Dan is all a flutter.

You return to the Graveyard next, and, as you’d imagine, it’s a very similar affair to the first time, although after passing through the gate, things do change up a little, and it’s here that you’ll bump into Death (aka Tom Baker). He likes to talk, but it’s always enjoyable to hear him speak. He gives us some guidance in our quest and suggests that we acquire the Anubis Stone, which was apparently used by Zarok 100 years prior in his first attempt to conquuer Gallowmere. Unfortunately, the stone was split into four and spread across the realm, hidden to stop it being misused again. Anyway, your first destination will be the burial location of the… Great Mullock Chief, and, as luck would have it, his tomb is in the very cemetery you’re standing in. Great start. Another piece is in the possession of the Mayor of the Sleeping Village (we’ll get there later), there’s a rumour that the Witch of Pumpkin Gorge has a piece, and the last piece is in the possession of the dead king of Gallowmere.
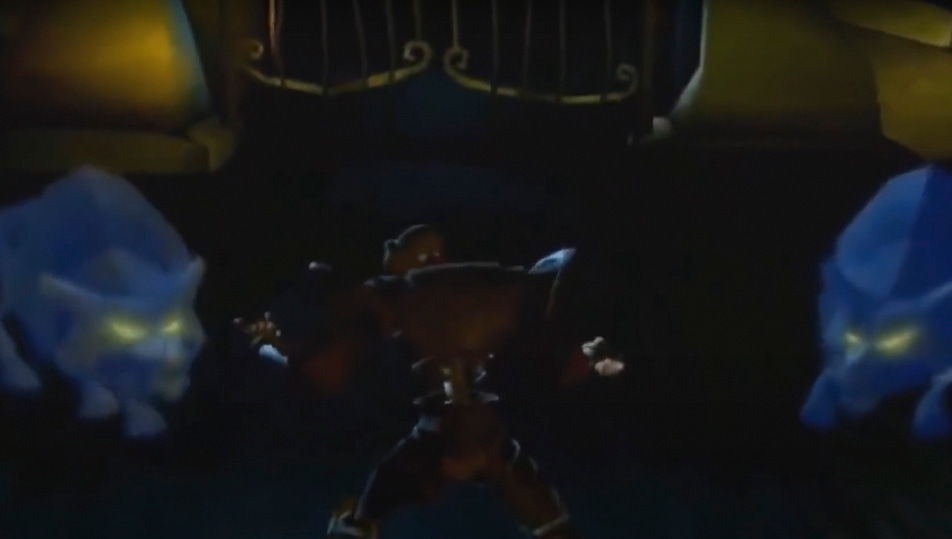
After ending your conversation with Death, you continue on in search of the first piece of the stone, which involves a bit of light puzzle solving and undead killing. Standard stuff. After unlocking the way to the burial site, you wield your shovel and start digging. First part acquired! Good job. After securing it in your inventory, head for the exit, and another boss fight! This time it’s with a pair of animated wolf statues. These guys can be a big tricky, as they turn invisible, but once you learn the attack cues, you’ll be fine. Finish them off and continue on to the Hall of Heroes once more. This time you get the pleasure of meeting RavenHooves the Archer – a stuck-up centaur, but at least he gives you a nice longbow.
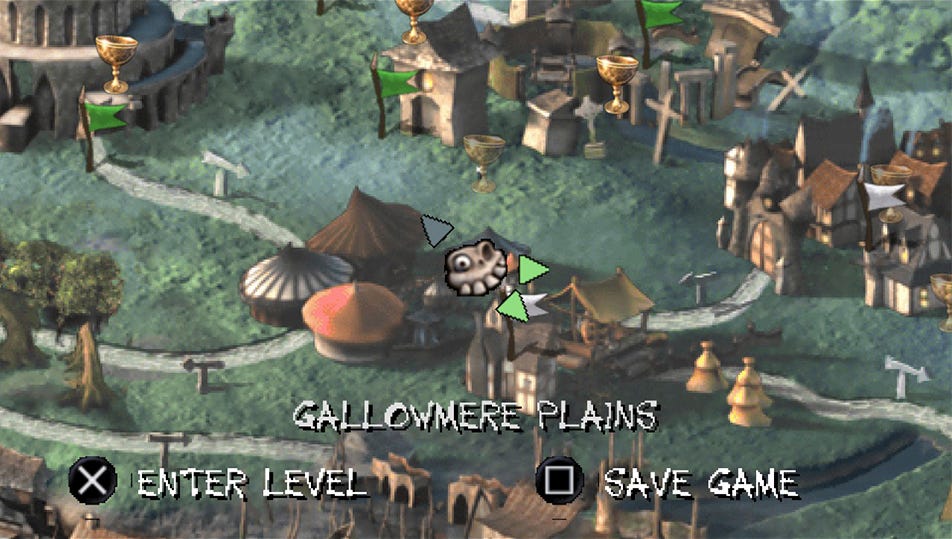
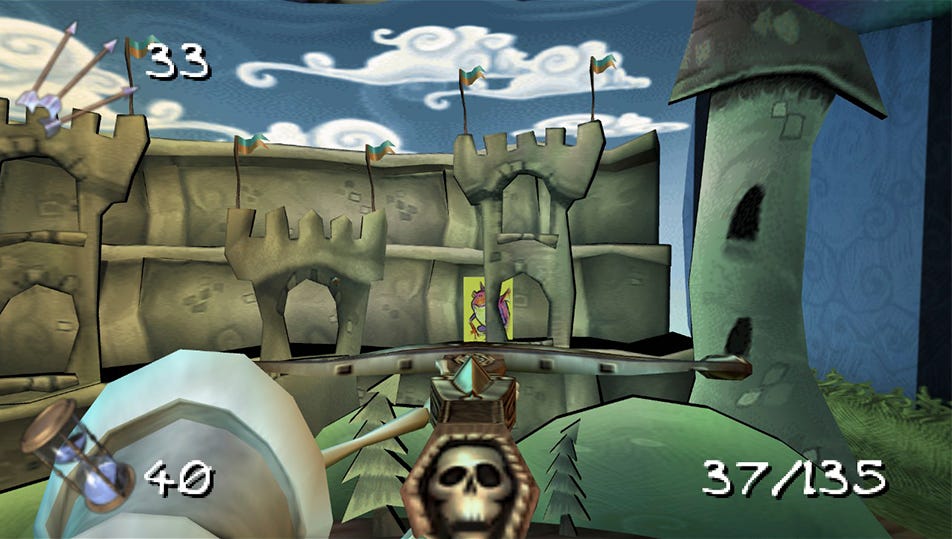
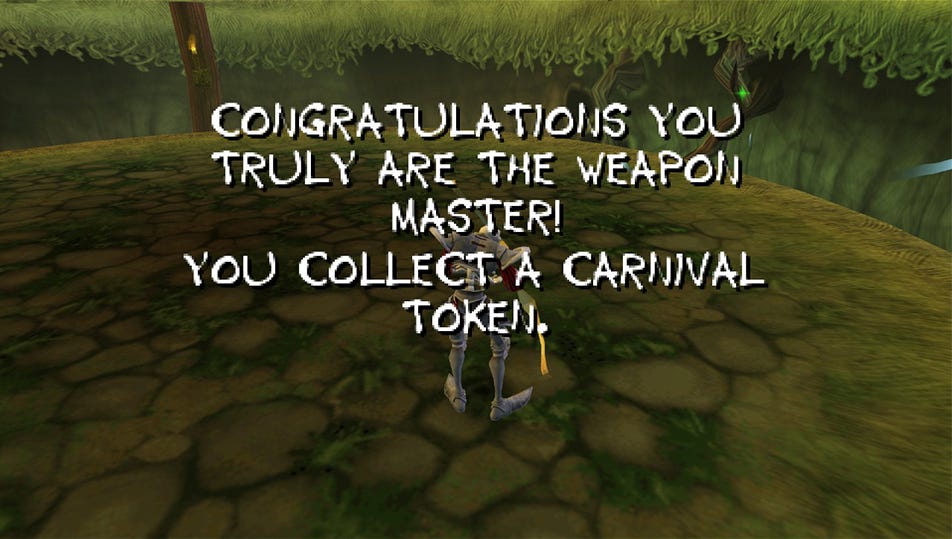
Returning to the map, you can now visit Gallowmere plains and enjoy all the fun of the fair, if you like. The minigames on offer are Shepherd’s Delight, where you have to herd sheep and chickens about, Weapon Master, where you have to test your skill with each weapon against a horde of various enemies, Pit o’ Death, which is another horde game, but you’re allowed any weapon you’ve unlocked so far, Arrow o’ Fate, which has you manning your crossbow and shooting targets on a range, Vermin Control, which has you smashing rats with your hammer, Whack-a-Zarok which has you knocking dummy busts of Zarok back into their holes, Guardian o’ the Bell, which has you defending a bell from a horde of enemies, and lastly, Trebuchet o’ Terror, which has you actually using a catapult (not a trebuchet) to knock out targets in a shooting gallery. Some of these challenges are less frustrating than others, but if you can complete them all you are rewarded with enough tokens to make a purchase from the fete merchant gargoyle. The purchase you’ll make, if you do get all eight tokens is the only one available, and that is the two-handed sword - Woden’s Brand, and it’s the most powerful sword in the game. I’m not sure it’s quite worth the effort, however, unless you very much enjoy ALL of the minigames. If you don’t get it, don’t worry, good alternatives can be found, even if they aren’t quite as good as this one.
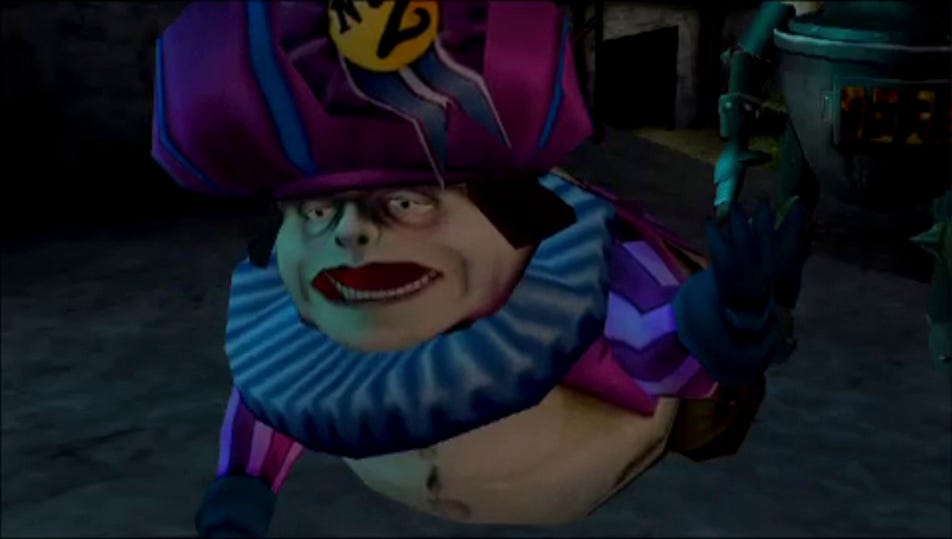
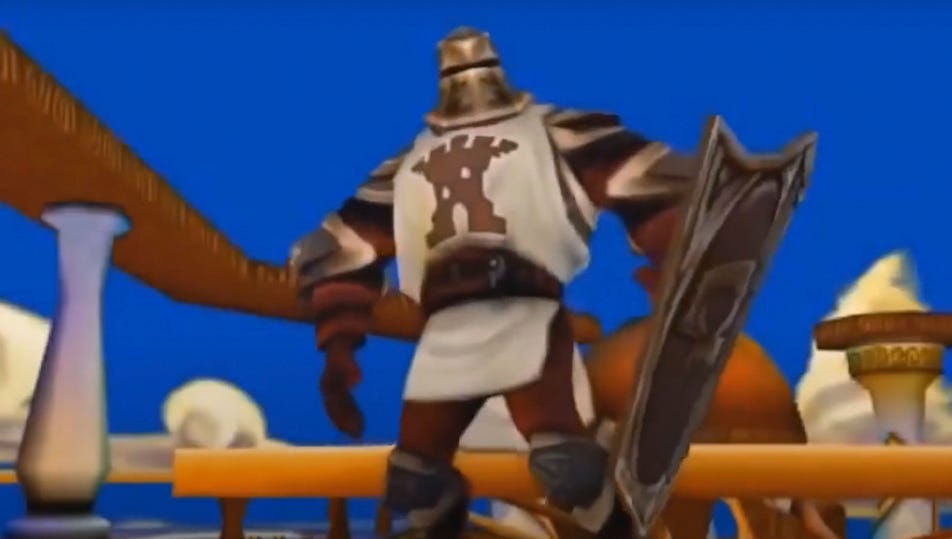
After all that fun, you’ll probably want to get going with the saving the realm thing, so head on out of the plains and towards the Sleeping Village! Upon entering you’ll see Zarok and his goons capturing the mayor (who I have a sneaking suspicion was modelled after John Prescott). They have a little chat about the Shadow Demon Claw, as Zarok requires it to further enact his evil machinations. The mayor denies to reveal such sensitive information, and Zarok has him imprisoned in the local asylum – by ‘eck. A brief bit of encouragement from Al gets you geed-up to step in, and after regaining control you’re faced with a bunch of Boiler Guards, who in the original were slightly more soviet in their characterisation, although mostly unchanged in Resurrection.
This part of the Sleeping Village is very brief, and after a quick explore, you find yourself heading towards the Asylum, but not before stopping by the Hall of Heroes, this time for a boon from Karl Sturnguard in the form of a Gold Shield. I never really made use of the shields that much in either iteration of the game, but good to have nevertheless.
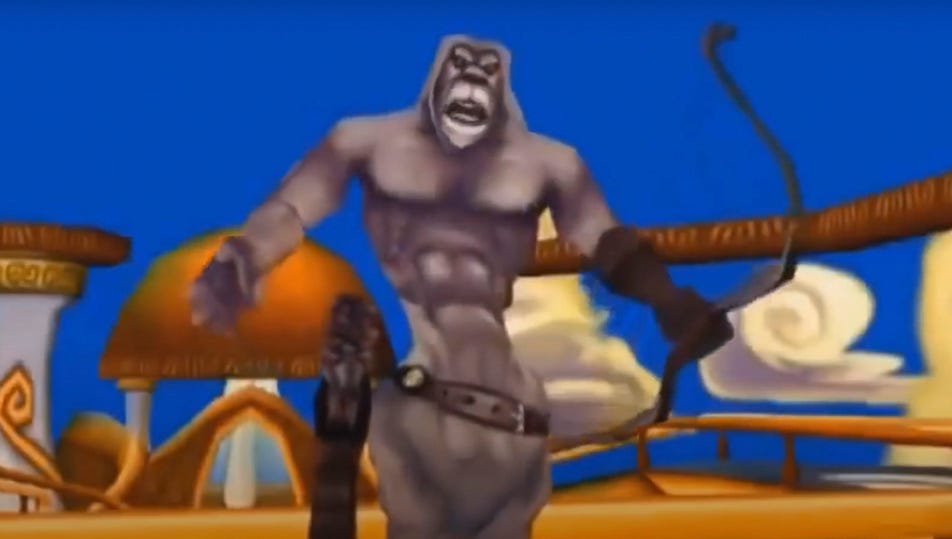
After tucking away your latest gift, it’s back to the map, and onwards to the Asylum. This level is a little different to the rest and is set out in a series of rooms within which you have to survive hordes of enemies in order to proceed, dodging pits and canon fire along the way. Fight through seven chambers and after all that finally drop into the next boss fight, this time a giant axe mad simpleton called… Mad Axeman. Anyway, this one is pretty straightforward. Attack him after he’s attacked you (he’ll get his axe stuck in the ground), and after a while he’ll begin charging blindly at you – guide him towards the spiked pillars and after the fourth one is down, the fight is over. Al remarks afterwards that he has developed a fear of axes, and who can blame him? In the next room you’ll find the mayor’s cell, and you’ll hear him inside complaining about the conditions. You’ll find a couple of walls you can smash down here beyond which is the chalice, it’s out of reach for the time being however, so you’ll be coming back here if you want another gift from the heroes. Anyway, head back and free the mayor – cue cinematic. The mayor is much changed in Resurrection, and he’s a far more interesting character this time, and the comedic interaction between Dan and the Mayor is a pleasure to watch. Through your conversation you’ll be given the whereabouts of the Shadow Demon Claw (it’s in the mayor’s safe), as well as given a key for the Enchanted Forest gate.
That’ll do for the first half, and what better screenshot to end things on? We’ll be concluding Dan’s quest to have his heroic statue reinstated next time…
As always, thank you for reading. If you’d like to support the blog, you can do so by subscribing and sharing!